TIME TRAVEL, MY FRIEND
tl;dr: Become Marty McFly within Nuke.
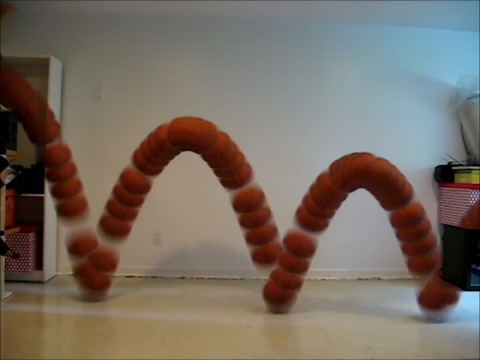

To better illustrate this, I´ve prepared a simple radial animation with a Roto node, a bunch of Transform nodes and a Merge. Without applying any additional operation, the animation looks like this.

Ok, let´s now bring in a B_traail gizmo and see what we can do with this amazing animation. And just to give you an idea before we get a closer look at the tool, here we have a few examples of what kind of results we could end up having out of the animation by playing a little with it.
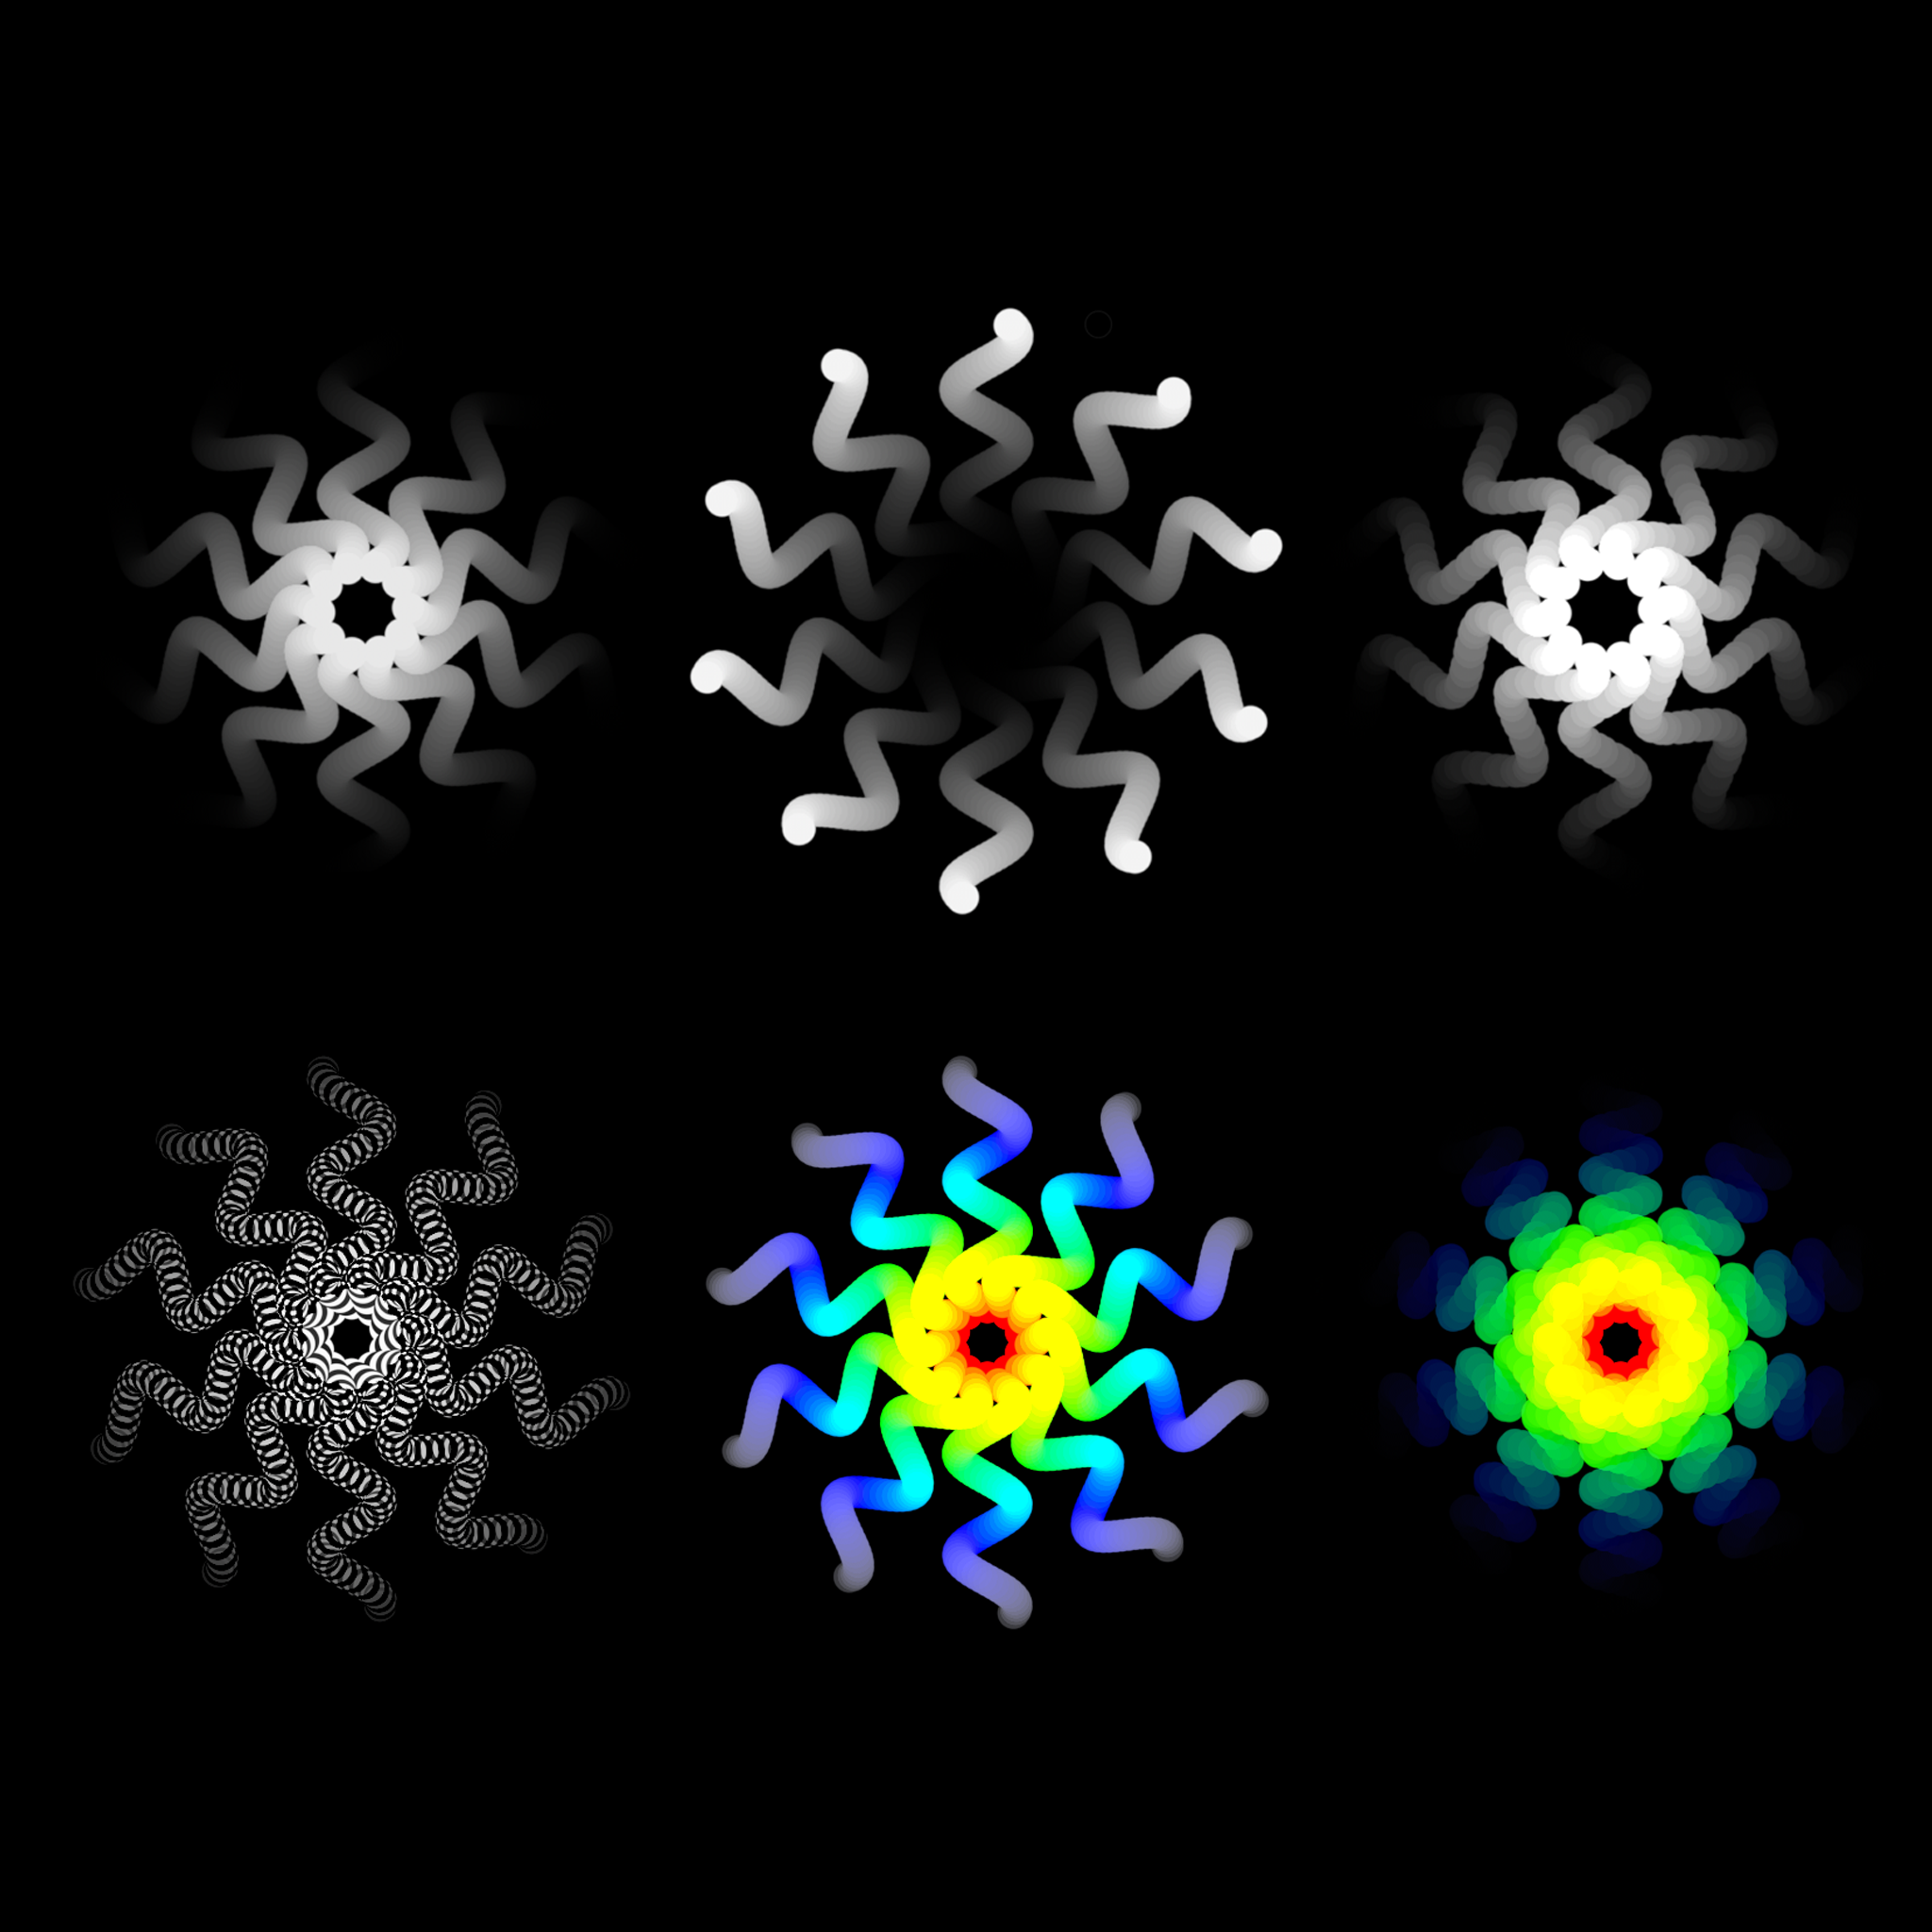
If you look carefully at these images, you will notice that they represent the animation plotted in one image: 75 frames in only one. Additionally, you may also perceive that there are some alterations in the way those moving dots are shown in the present moment, with respect to how they were: different gradients and merging operations have been applied, both ends of the animation can be retracted to limit the range that we see in one frame, color-over-time has also been applied, and even the temporal density has been dealt with according to different reducing factors. Last but not least, all those parameters can, of course, be animated.

Let´s now take an in-depth look at the properties bin of the B_traail tool to examine its knobs and see what they do. It´s only a 2 minutes video, don´t be lazy and check it out
4 – Installation guide
Like I said in the beginning, my B_traail Gizmo tool has a Pythonic soul. Behind the scenes, pretty much all the Nuke knobs available on the node´s properties panel trigger a piece of Python code that enables its functionality. More specifically, they call to a number of 34 functions allocated within the context of the b_traail.py module, along 414 lines of code.
This obviously means that you have to save the Python module within the Nuke Plugin Path context for the tool to work. Just download it using the link below and save it where Nuke can find it. NOTE: it´s crucially important to name it “b_traail” exactly. Do not rename the file!.
Great, with that being done, now download the Gizmo file itself and save it so that you can call it from Nuke (ideally in the “Gizmos” folder within the Nuke Plugin Path context).
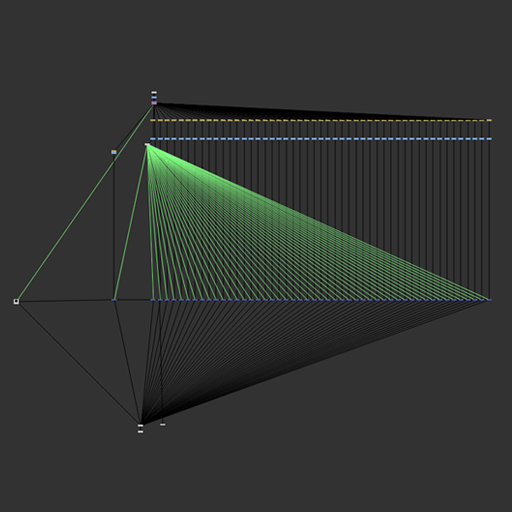
B_traail.gizmo download linkNow, if you are of a curious type, you´ll probably want to convert the Gizmo into a Group and take a look inside. If you do so before running the tool, what you´ll find will look somehow like this:
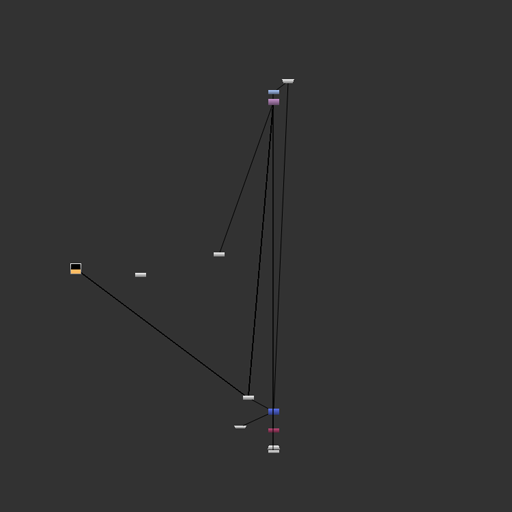
No worries, it´s totally normal! Just introduce a frame range, run the tool and its Python code will automatically build-up the setup on the fly. If you take a look inside again, you should be able to see something like this: